
Flush Setting Large Stones in Jewellery
I am often asked about setting into wax carvings, and also about flush setting larger sizes of faceted stones, so here is a blog post which touches on the former and goes into much more detail for the latter.
I have also been asked about using a micromotor hammer-action handpiece, and we'll look at that here, too.
There aren't images for every step of this process, but I will try to explain here in much greater detail than in the video above.
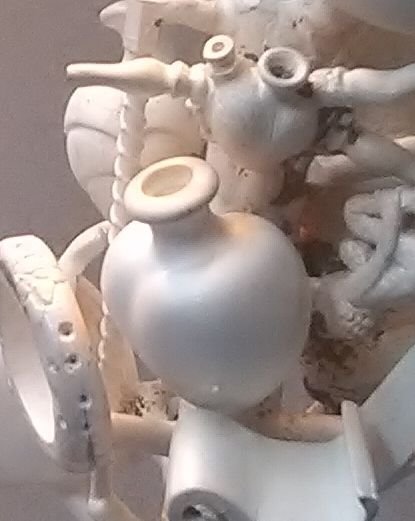
The original form was carved in blue wax, and cast in silver. I seem to be able to only find an image of it just after it was cast and still on its tree:
After filing off the sprue and cleaning up, the hole in the heart's funnel was burred out as much as possible. I hadn't decided on the size of stone when I carved the piece, so I left the hole smaller than I thought it needed to be.
Given that the chosen stone being used was 5.75 mm diameter, and there's no such thing as a 5.75mm burr, a 5mm burr was used and the remainder of the seat for the stone was cut with a spitzstick scorper (graver). I'm wearing a leather glove on my left hand not because I'm scared of stabbing myself, but more to prevent general wear and excessive hand-washing. I try to wear gloves whenever possible (and safe), particularly when holding tools or pieces.

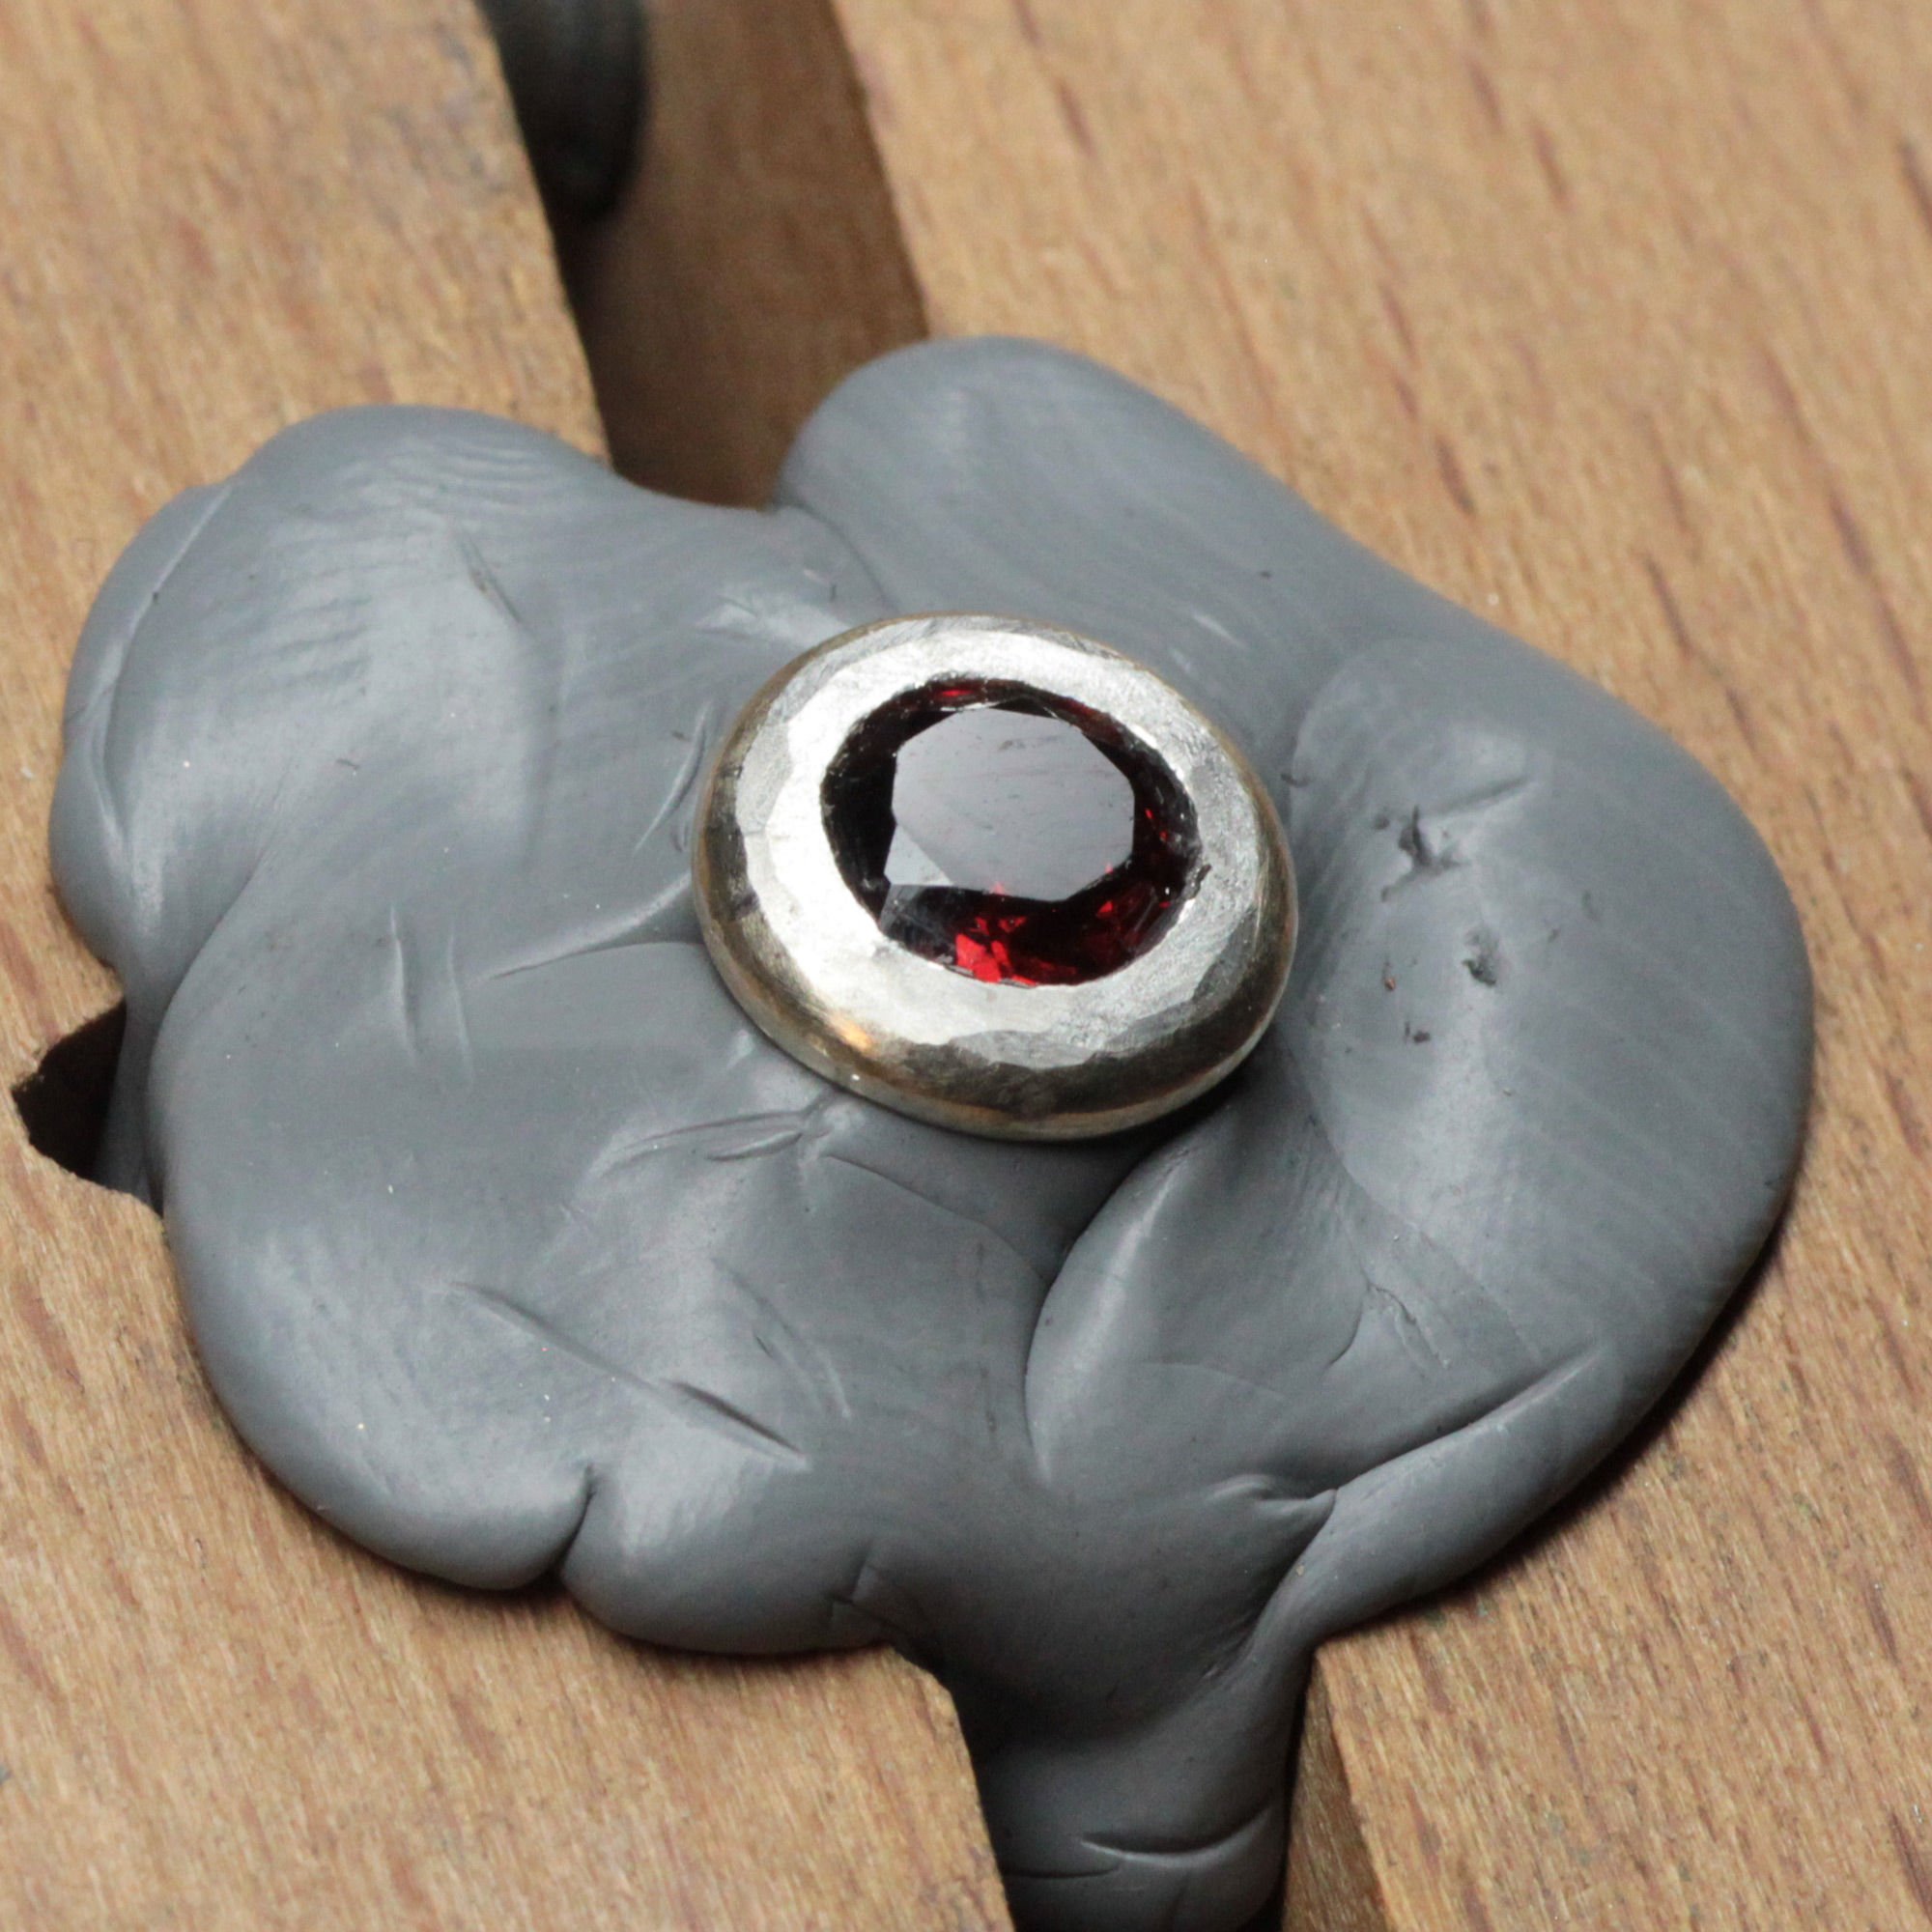
The scorper is used to widen the top of the hole whilst leaving a neat ledge for the stone to sit on internally and at just the right height.
The correct height for the stone is always a judgement based on the specific proportions of the stone, the angle of the metal and how deep it's going to be set. You can see in the image below that the stone's girdle (edge) sits below the top edge of the silver.

The whole piece was then secured into a clamp with Thermoloc to make sure that it was held firmly. Using a pusher by hand, the silver edge was set at a few key points to secure the stone - the hammer action of the motor causes so much vibration that stones need to be set a little so that they stay put!
Here's the handpiece:

The tip doesn't rotate like a normal motor handpiece, but rather vibrates in and out. The force of the vibrations can be intensified by rotating the central metal collar (large arrow). I had to buy this tip separately (tips are changed by unscrewing them, small arrow), as the one the handpiece came with was too fine and not quite right for this style of setting. Invariably, as with most tools, the tips need a little bit of work so that they can be used without doing too much damage.
The corners here are very sharp (Top image, below), and the first time I used this (on an 18ct tube setting!) it did leave a lot of marks which had to be chased out.

I rounded off the corners using a diamond file and water, leaving a rough surface on the surface so that the tip won't slip around too much when I'm working.
Please refer to the video at the top of the post for the actual use of the handpiece.
The action of the motor makes it very easy to push metal around, and has the added advantage of giving you one hand free, which is not the case if you are chasing with a hammer and punch (which is how I usually work, and have to have the work secured in a vice). All I need now is a fancy swivelly ball vice (hint hint).
You can see that the silver has been flattened down around the stone (which is fine for something this size), and the texture from the tip of the tool has been transferred - there's a fair bit of cleaning up to do anyway so this isn't a problem, but there are no deep marks thanks to the lack of corners on the tool.

First, I used a cut 4 barrette needle file to remove the faceted marks created by the motor. Barrette files are fantastic for this because there's much less chance of damaging the stone, and a finer cut means that less abrasives will have to be used before polishing. I have become more and more of a fan of finer cuts of files over the last couple of years, particularly when I want real accuracy.
I've wrapped the main body of the pendant up with masking tape to stop me from damaging it, but am not using a clamp to help hold it as I prefer more flexibility at this stage - same with the glove, I found it was just getting in the way too much.
Note that I am also holding the camera shutter release in my left hand there! I'm taking pictures with the knuckle of my ring finger.

Then I used an oval burnisher to smooth down the inside edge of the setting against the stone. It's risky to get this close with the motor, but there is little risk of the burnisher damaging the stone, so I can burnish and smooth the internal surround. I'll probably do this at a few different stages during the setting process, and usually again once I've finished polishing. I might also get the scorper back in there to tidy up any ripples, but that really wasn't necessary for this setting.

Normally, I'm not really very keen on using these types of abrasive near stones - particularly garnets, because they can get scratched so easily - but there was plenty of metal here, and it was the most time efficient method. I used a grey eveflex cylinder to smooth out the remaining faceting, but didn't let it get close to the stone. I wouldn't recommend this method unless you are very confident with a motor!
Note: What you can't see here is that I have hooked up a vacuum cleaner under my bench peg to extract the dust - these abrasives are hideously dusty. I managed to find a very quiet model (66dB) - I will post about it at some point, and I think it has made an important change to my working practise.

Then I used a fine red (or brown) eveflex to refine the surface more - you can really start to see the difference now.

I appreciate that this probably looks like the first filing shot, but this is actually a 'buff' file, which is equivalent to cut 10. I'll admit I was pretty sceptical about these to start with, particularly as they are so expensive, but I have been wholly converted and adore buff files now. It's like having a fine abrasive in file form, and you can be so very very precise with them in a way that is just not possible with most forms of abrasive media. I used this to tidy up any last marks close to the stone that the eveflex rubber points didn't remove because I didn't want to get too close.

First stage polishing was done with Luxi blue (instead of tripoli) on a felt point. I prefer Luxi polishes because they are water soluable and clean off more easily, they are a little less toxic and also, not made with animal fat.
I've not had a problem with this polish touching stones (so far!?).

After a quick clean, the last stage of polishing was done with Luxi orange (superfine) on a synthetic suede (lint-free) soft polishing mop. I don't have a full size polishing motor, so I do what I can with my micromotor. I ended up putting a subtle brushed finish over the whole piece with fine steel wool, so it wasn't super shiny anyway. I'm not really keen on putting highly polished surfaces on most of my pieces, but the insides of rings, and particularly stone settings are an exception - polishing a setting usually puts the final touches to it by smoothing out any sharp edges - visually, and it creates a more tactile surface.
After that, I flush set all the smaller stones using a normal flush setting tool and not the hammer action handpiece!
